Dockable Frames
Several panels in Stratus can be docked, pinned, or collapsed to help customize your workspace.
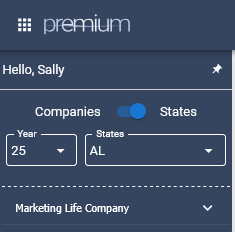
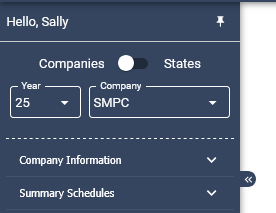
Company or State View Frame
The Company or State View frame appears on the right side of the screen and allows you to select how returns are displayed.
• Company View – Displays the state returns associated with the selected company.
• State View – Displays all companies that have an active return for the selected state.

Pinning and Unpinning frames
Frames can be pinned to remain open or unpinned so they collapse when not in use.
To pin a frame, click the pin icon located in the top right-hand corner of the frame. When pinned, the pin icon will tilt to the right and the frame will remain visible.
To unpin a frame, click the pin icon again. The pin will appear straight, and the frame will collapse when you click outside of it. When unpinned, the frame will also display two arrows pointing to the left, which can be clicked to collapse the frame.
To expand a collapsed frame, click the arrows pointing to the right.
The following frames can also be pinned or unpinned:
• Payment Request
• Attachments
• Efile via NAIC Optins
• Notes


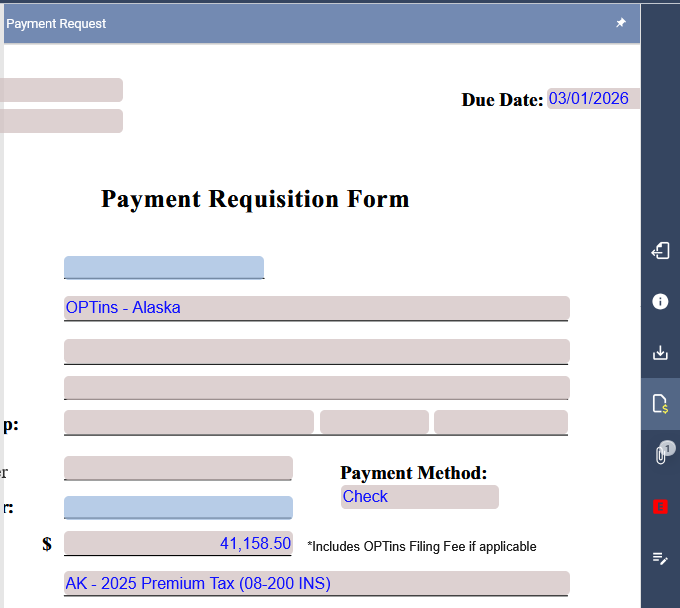
Payment Request
If the active form includes a potential payment, the Payment Request icon will appear in the vertical icon list. Any edits made in this frame will automatically update the Payment Request Schedule located in the Summary Schedules folder in the tree.
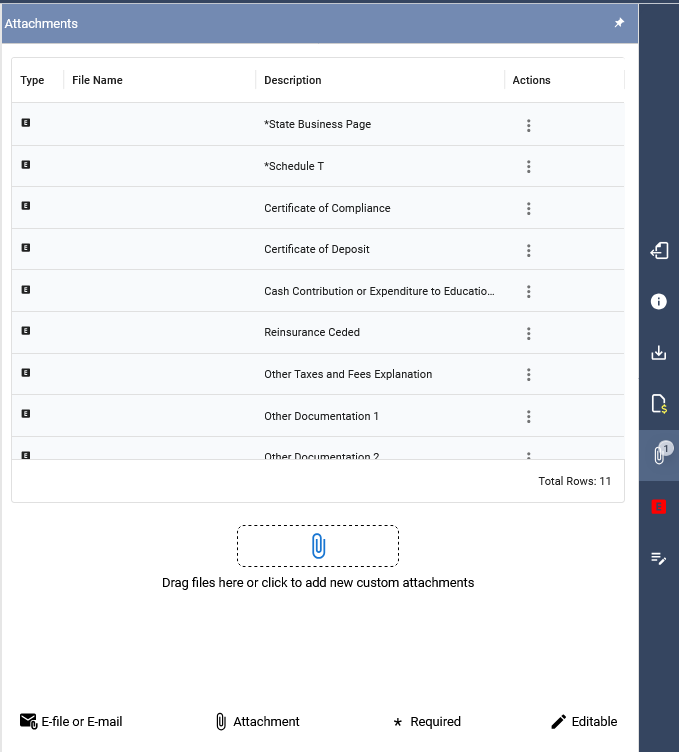
Attachments
The Attachments icon in the vertical icon bar opens a window where external files can be attached to the return.
- The top portion of the window lists all state-specified attachments. Required attachments are marked with an asterisk (*). Some attachments may be conditionally required based on the data entered in the return.
- To attach a required file, click the cloud icon next to the attachment name and select the file. The file name will then appear in the File Name column.
- To attach a non-specified file, click the paper clip icon in the center of the window or drag and drop a file into the area provided. These files will appear at the bottom of the list and can be removed using the trash icon.
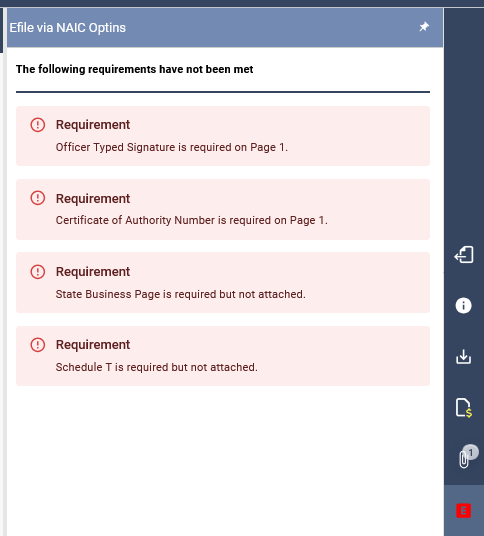
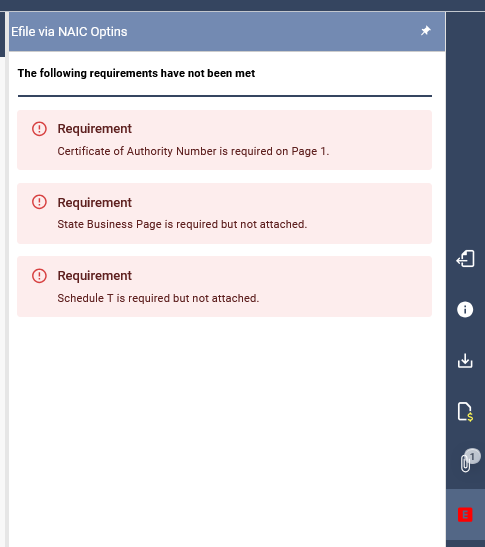
Efile via NAIC Optins
The Efile via NAIC Optins frame provides a list of items that may need to be addressed before processing or completing a return. As items are resolved, they will automatically be removed from the list.
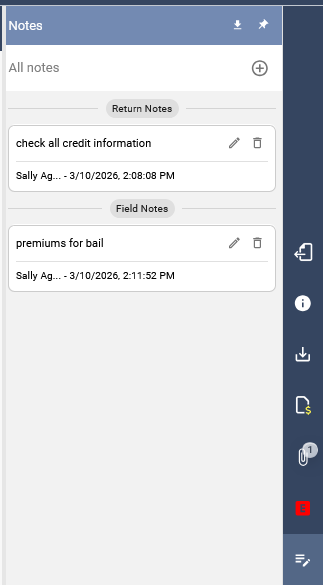
Notes
Notes can be added to an entire return or to a specific field within a return.
To add a note to a specific field, hover over the field until the plus-sign icon appears. Click the icon to open the Notes panel on the right. Enter your note and click the checkmark to save.
Each note can be edited or deleted using the pencil or trash can icons. Notes also record the user, date, and time when the note was created.